
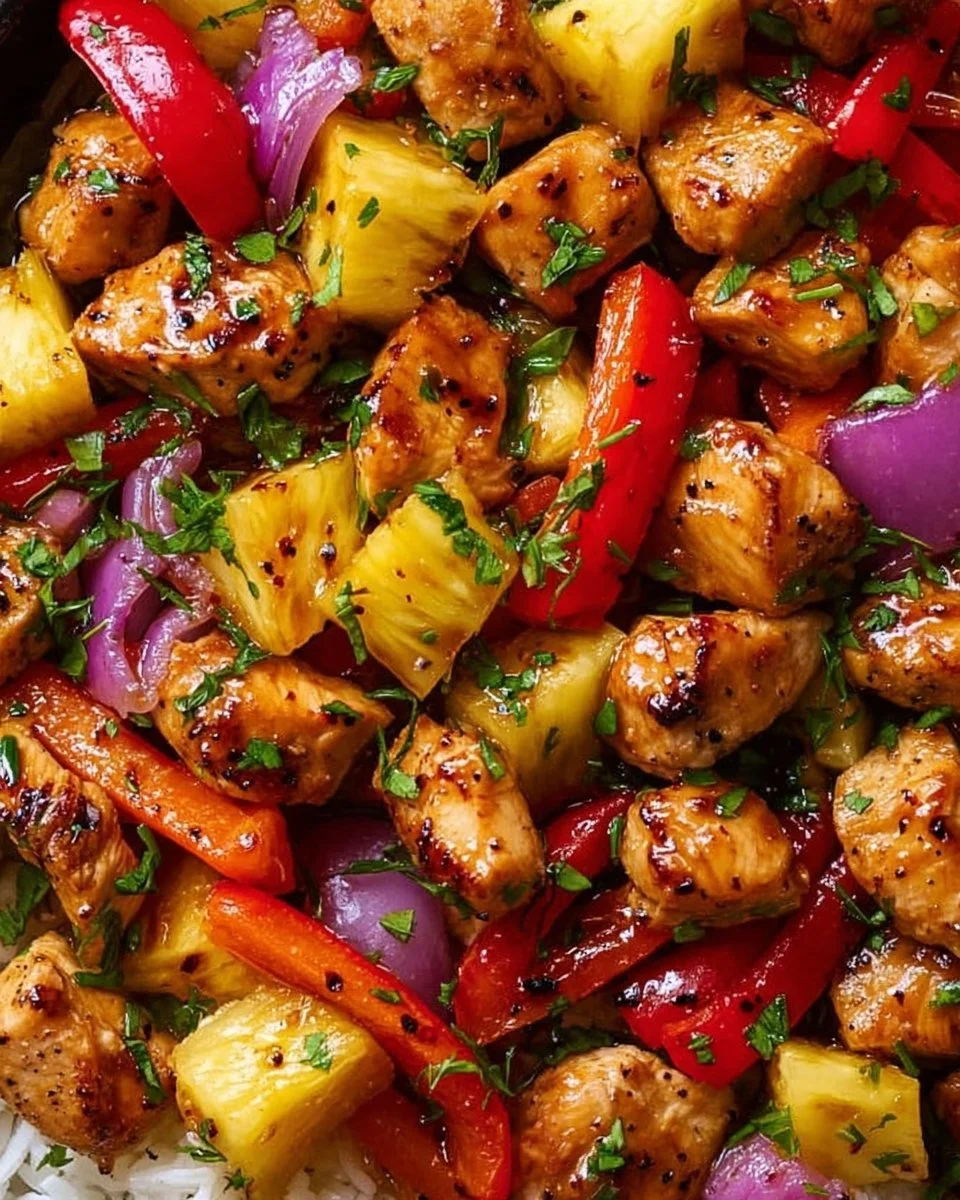
If you’re looking for a simple yet mouthwatering dinner option, look no further than the Hawaiian Chicken Sheet Pan. This vibrant dish brings together juicy chicken, colorful bell peppers, and sweet pineapple, all bathed in a tangy sauce that’s sure to delight your taste buds. The best part? It’s a one-pan wonder, meaning minimal cleanup and maximum flavor! Perfect for a weeknight meal or when entertaining friends and family, this recipe is a tropical escape right in your kitchen.
What Makes This Recipe So Good
This Hawaiian Chicken Sheet Pan recipe stands out for several reasons. First and foremost, it’s incredibly easy to prepare—excellent for both novice cooks and seasoned chefs. Simply chop and toss the ingredients, spread them on a sheet pan, and let the oven do the work. Not only does this save time, but it’s also budget-friendly because it uses affordable ingredients available at any grocery store. Plus, the unique combination of chicken, fresh vegetables, and pineapple creates a tantalizing flavor profile that’s both sweet and savory. You’ll love how this dish transports you to a beachside luau with every bite!
Simplified Cooking Process
Making Hawaiian Chicken Sheet Pan is straightforward. You’ll begin by prepping your oven and sheet pan, then you’ll assemble the chicken and vegetables directly on the pan. Next, a drizzle of olive oil and a sprinkle of seasonings will bring everything together. After baking to perfection, you’ll whip up a quick sauce on the stovetop to finish it off. Each step is quick, allowing you to have a delicious meal in no time, while the clean-up is a breeze!
Ingredients
- Prep Time: 15 minutes
- Cook Time: 25 minutes
- Total Time: 40 minutes
- Servings: 4
- 1 ½ lbs (700 g) boneless skinless chicken breasts, cut into 1-inch pieces
- 1 red bell pepper, chopped
- 1 yellow bell pepper, chopped
- 1 small red onion, cut into wedges
- 1 ½ cups fresh pineapple chunks
- 2 tbsp olive oil
- 2 cloves garlic, minced
- ½ tsp salt
- ½ tsp black pepper
- ½ tsp paprika
- ¼ tsp chili flakes (optional)
- ⅓ cup low-sodium soy sauce
- ¼ cup pineapple juice
- 3 tbsp honey (or brown sugar)
- 2 tbsp rice vinegar (or apple cider vinegar)
- 1 tbsp cornstarch + 2 tbsp water (slurry, optional for thickening)
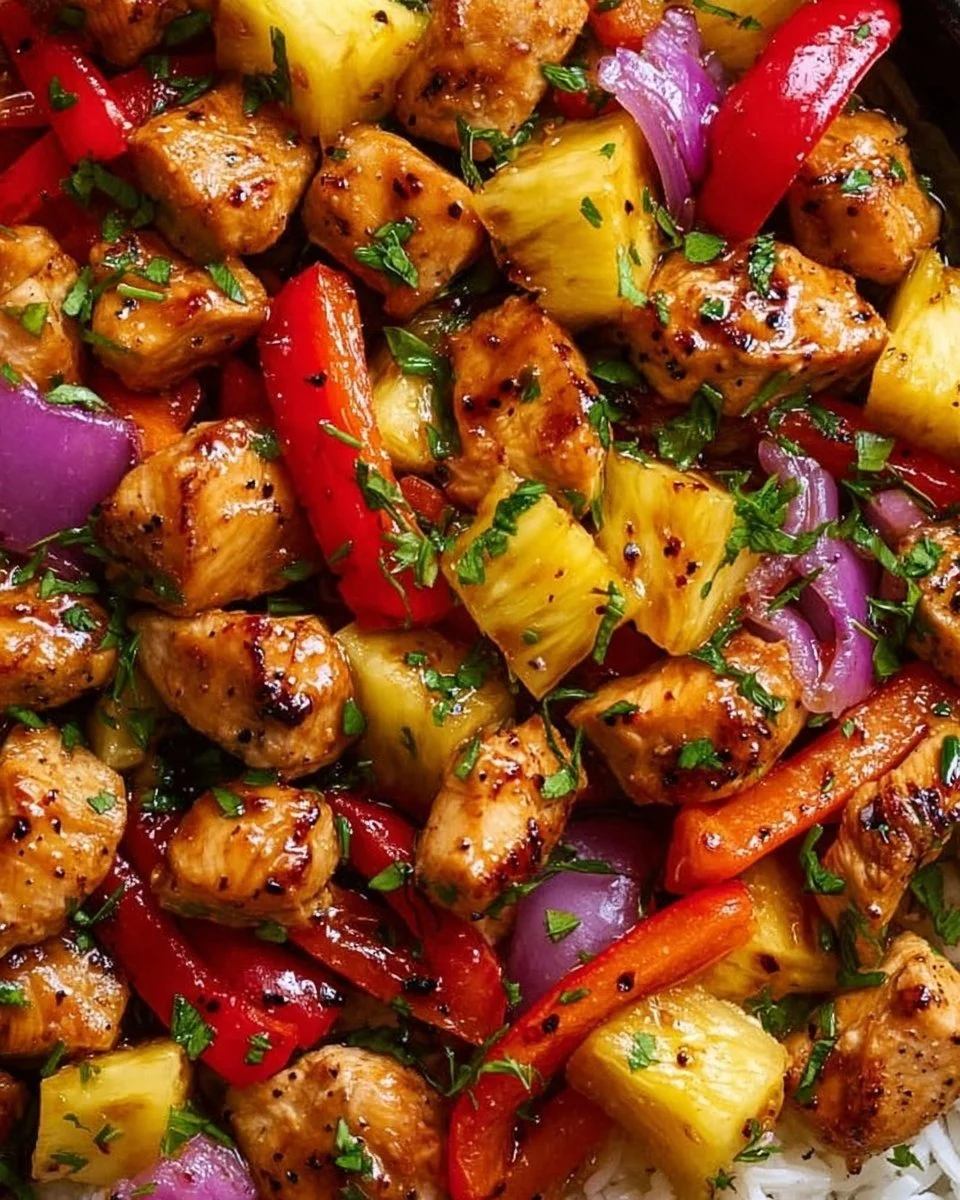
Step-by-Step Instructions
Follow these simple steps to create a flavorful Hawaiian Chicken Sheet Pan:
- Preheat the Oven: Begin by preheating your oven to 400°F (200°C). Preparing the oven beforehand guarantees even cooking.
- Prep Your Pan: Line a large sheet pan with parchment paper for easy cleanup or grease it lightly.
- Combine Ingredients: Spread the chicken pieces, chopped bell peppers, red onion wedges, and pineapple chunks evenly on the pan.
- Add Seasoning: Drizzle the olive oil over the mixture. Season it with minced garlic, salt, black pepper, paprika, and optional chili flakes for a hint of heat. Toss everything well to ensure all ingredients are coated.
- Bake: Place the pan in the oven and bake for 20 to 25 minutes. Don’t forget to flip the mixture halfway through cooking. You’re aiming for the chicken to reach an internal temperature of 165°F (74°C).
- Prepare the Sauce: While the chicken and vegetables are baking, make the sauce by combining the soy sauce, pineapple juice, honey, and rice vinegar in a saucepan. Heat it over medium heat and let it simmer for 3 to 4 minutes. If you want a thicker sauce, add the cornstarch mixed with water at this point.
- Serve: Once the chicken is done, take the pan out of the oven and drizzle the prepared sauce over the chicken and vegetables. Serve immediately for a warm, delicious meal.
Creative Serving Suggestions
This Hawaiian Chicken Sheet Pan is versatile and can be served in various ways. Here are some ideas:
- With Rice: Serve over a bed of fluffy jasmine or brown rice to soak up all the delicious sauce.
- As Tacos: Use corn tortillas to make mouthwatering Hawaiian chicken tacos topped with avocado and cilantro.
- On a Salad: Pile the chicken and veggies on a bed of mixed greens for a refreshing salad option.
- Drink Pairing: Pair with a tropical drink like a Mai Tai or a simple coconut water for a complete beachy experience.
- Occasions: Perfect for family dinners, summer barbecues, or even meal prep for the week ahead!
Proper Storage and Reheating Techniques
Storing your Hawaiian Chicken Sheet Pan is easy. Allow leftovers to cool completely before transferring them into an airtight container. They can be stored in the fridge for up to 3 days or frozen for up to 2 months. When reheating, ensure the chicken reaches an internal temperature of 165°F (74°C) again; microwave or heat it in a skillet over low heat, adding a splash of water or chicken broth to keep the moisture.
Helpful Tips for Success
Here are some professional tips to ensure your dish turns out perfectly:
- Don’t Overcrowd: If your sheet pan isn’t large enough, consider using two pans. Overcrowding can lead to steaming rather than roasting, resulting in less flavor.
- Check Doneness: Always use a meat thermometer for the chicken to ensure it’s properly cooked.
- Fresh Ingredients: Use fresh, high-quality vegetables and chicken for the best flavor. Frozen vegetables can work, but they may add extra moisture.
- Adjust Flavors: Feel free to tweak the amount of soy sauce or honey to fit your taste preference.
Delicious Variations to Try
Feel free to get creative with this recipe:
- Protein Swap: Substitute chicken with shrimp, firm tofu, or pork for a different twist.
- Vegetable Options: Add zucchini, snap peas, or broccoli to mix up the vegetable profile.
- Spice Level: Increase the spice by adding more chili flakes or a splash of sriracha to the sauce.
- Sweetness Level: Replace honey with maple syrup or agave nectar if you prefer a different sweetener.
Common Questions and Answers
- Can I make this dish ahead of time? Yes, you can prepare the ingredients and store them in the fridge for up to a day before baking.
- Can I use canned pineapple instead of fresh? Absolutely! Just make sure to drain it well to avoid excess liquid.
- What can I serve as a side? Serve with steamed rice, quinoa, or even a light salad to complement the meal.
- Is this dish gluten-free? If you use a gluten-free soy sauce alternative, yes, this dish can be gluten-free.
- How long does leftovers last? Leftovers can be stored in the fridge for up to 3 days and frozen for up to 2 months.