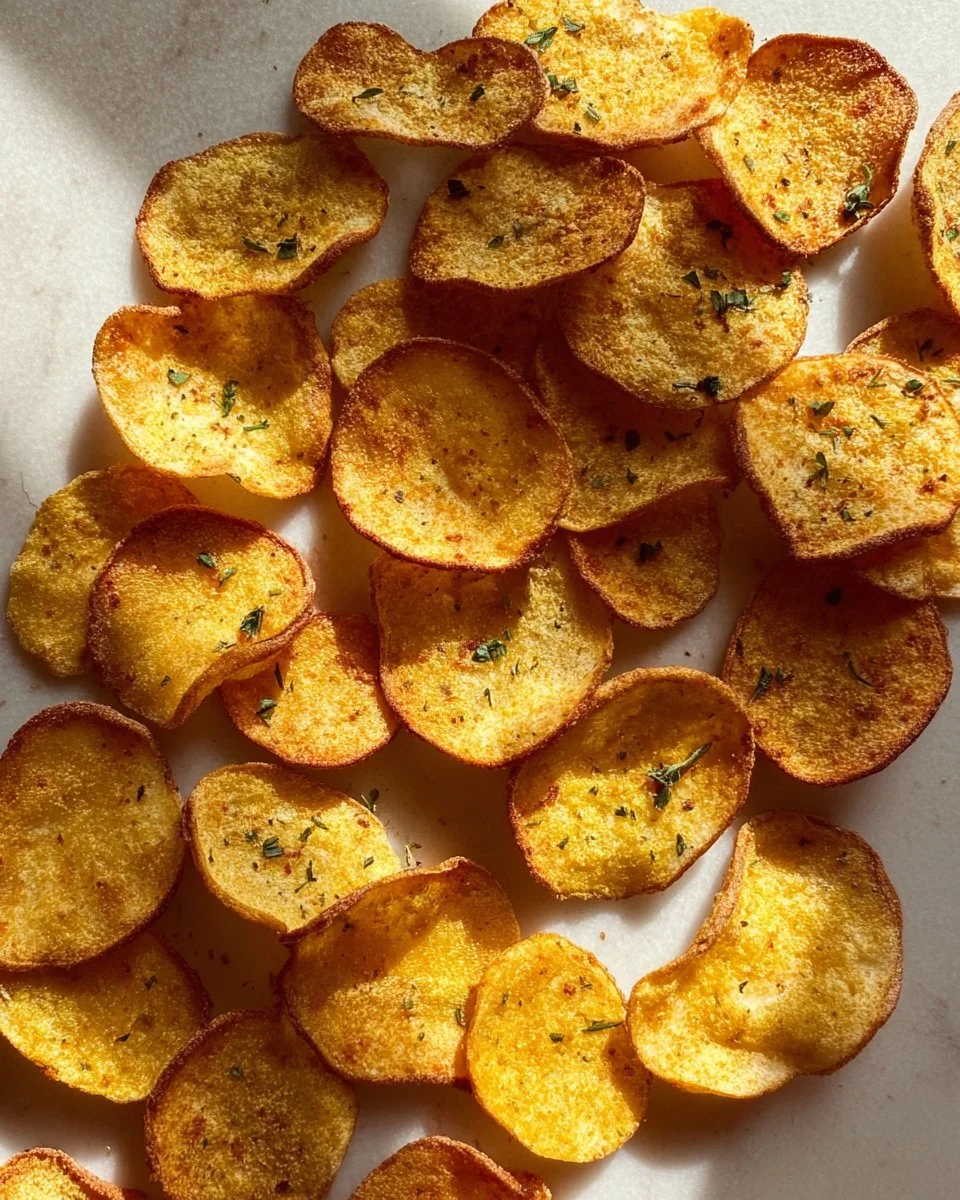
Baked Chickpea Chips are a delightful and healthy snack that everyone in the family will adore. With their crunchy texture and savory flavors, these chips make an excellent alternative to traditional potato chips. Not only are they easy to prepare, but they also offer a nutritious way to satisfy your cravings for something crispy and tasty. Whether you’re hosting a gathering or simply enjoying a quiet night at home, these chickpea chips are perfect for dipping, snacking, or even adding to your salads. Try making them today, and you’ll quickly understand why they are a must-try recipe!
What Makes These Chickpea Chips Special
There are several reasons why this baked chickpea chip recipe stands out. For starters, it’s straightforward and requires minimal preparation time—perfect for busy cooks or beginners. The ingredients are inexpensive and wholesome, making this recipe not only budget-friendly but also a healthier choice. Unlike store-bought chips that are often loaded with preservatives and unhealthy fats, these chips are made with simple elements that you can feel good about consuming.
Moreover, chickpea flour is packed with protein and fiber, providing a nutritious boost to your snack time. By adding herbs or spices, you can customize the flavor to suit your taste preferences, making each batch unique and exciting. Overall, this recipe combines convenience with health benefits, making it a winner in the kitchen.
Understanding How to Make Baked Chickpea Chips
This recipe for Baked Chickpea Chips comes together in just a few simple steps. First, you’ll mix chickpea flour, water, and salt to create a smooth batter. After preparing your baking sheets with parchment paper, you’ll spoon the batter onto the sheets, spreading it into thin circles. The chips then go into the oven, where they bake until they are golden brown and crispy. Finally, once cooled, these chips can be enjoyed plain or with your favorite dips. It’s really that easy!
Ingredients
Prep Time: 10 minutes
Cook Time: 10 minutes
Total Time: 20 minutes
Servings: 6
- 80 grams chickpea flour
- 140 grams water
- 1/2 teaspoon salt
- Chopped fresh herbs, dried herbs, or spices
Let’s talk about the key ingredients. Chickpea flour is the star of the show; it’s gluten-free and offers a nutty flavor that’s truly irresistible. Water helps to create the perfect batter consistency, while salt enhances the flavors in your chips. You can also get creative by adding various herbs or spices to elevate the taste further!
Step-by-Step Instructions
Follow these instructions for perfectly baked chickpea chips:
- Preheat your oven: Set it to 200C or 400F to ensure that it’s hot enough to crisp your chips.
- Mix the ingredients: In a mixing bowl, combine the chickpea flour, water, and salt. Use a whisk to blend everything until it’s smooth and free from lumps.
- Prepare your baking sheets: Line two baking sheets with parchment paper. This will prevent the batter from sticking and make cleanup easier.
- Spoon the batter: Take a spoonful of the batter and place it onto the parchment paper, spreading it into thin circles. Aim for consistency in thickness to ensure even cooking.
- Add herbs or spices: If desired, sprinkle chopped fresh herbs or your favorite dried spices atop the batter before baking. This can add an extra layer of flavor!
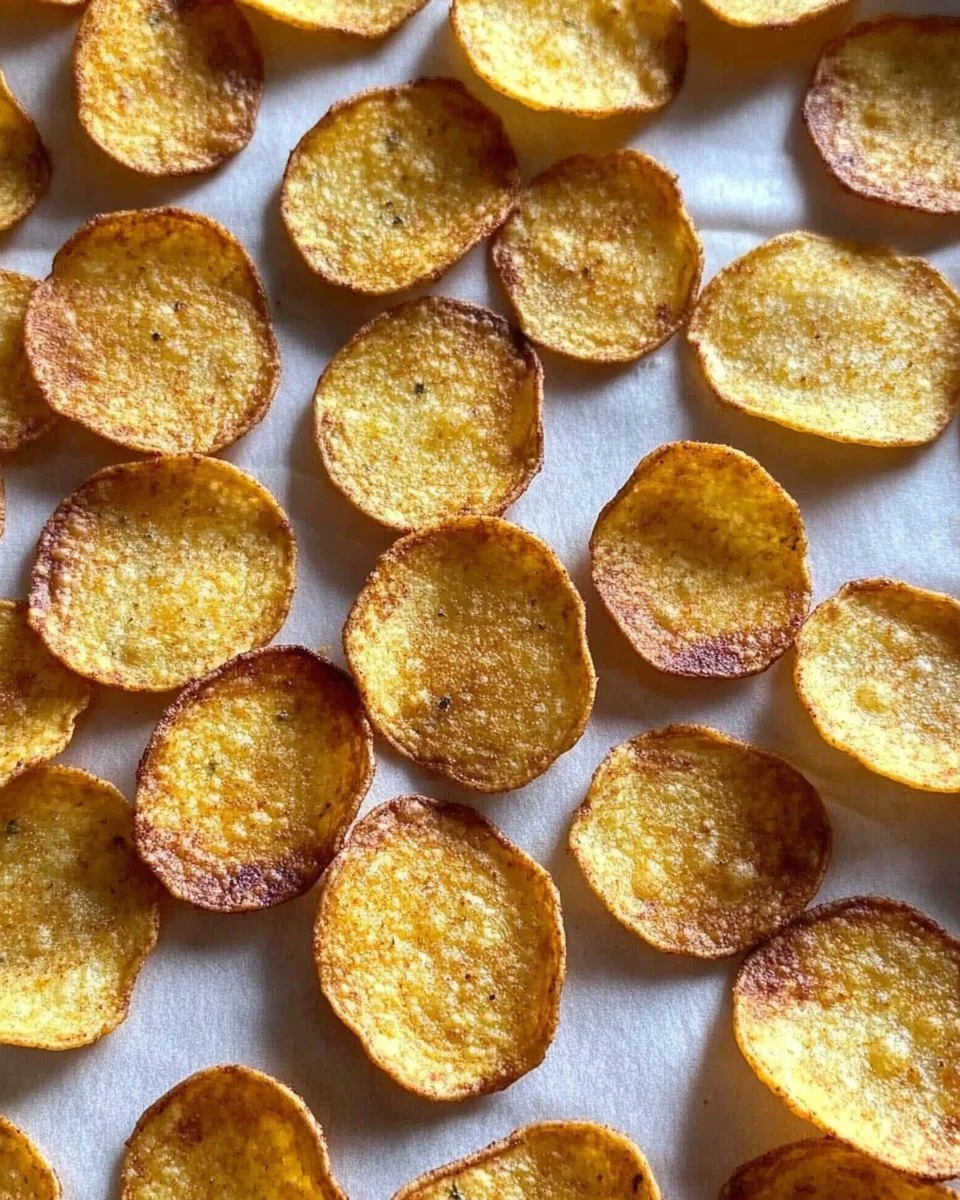
- Bake the chips: Place your trays in the preheated oven and bake for about 10 minutes. Keep an eye on them; you’re looking for a golden color and lightly browned edges.
- Cool the chips: Once baked, allow the chips to cool for 15 to 20 minutes on the baking sheets before removing them. This cooling period helps to enhance their crunchiness.
- Serve and enjoy: These chips are delicious all on their own or can be paired with your favorite dips.
Creative Ways to Serve Baked Chickpea Chips
Baked Chickpea Chips are incredibly versatile and can be served in numerous ways. Consider pairing them with dips such as hummus, guacamole, or a zesty salsa for an unforgettable snacking experience. If you’re hosting a party, arrange them on a colorful platter alongside a variety of dips for your guests to enjoy.
These chips also make a great addition to salads as a crunchy topping or as part of a charcuterie board. You can even crumble them over soups for a delightful texture contrast. For a healthier twist, serve them with a refreshing yogurt dip or tzatziki sauce. There are so many opportunities to enjoy these delicious chips!
Best Practices for Storing and Reheating
Once you’ve made your batch of Baked Chickpea Chips, you might wonder how to store them to maintain their crispness. To keep your chips fresh, store them in an airtight container at room temperature. They should stay crunchy for up to a week. Avoid refrigerating them, as this can introduce moisture that makes them soggy.
If you have leftover chips and want to enjoy them warm later, reheating them in the oven is the best method. Preheat your oven to about 180C or 350F, then place the chips on a baking sheet. Heat for a few minutes until they’re warmed through and regain some of their crunch. Avoid microwaving them, as this can make them chewy instead of crispy.
Cooking Tips for Success
To ensure your Baked Chickpea Chips turn out perfectly every time, consider these pro tips:
- Pace your batter: Spread the batter as thinly and evenly as possible to achieve a consistent texture. Thin chips will be crispier!
- Season well: Don’t be shy with the herbs and spices! They can completely transform the flavor profile of your chips.
- Keep an eye on them: Oven temperatures can vary, so watch the chips closely as they bake to prevent burning.
- Experiment with flavors: Try using different seasonings or even flavored chickpea flour to create various chip options.
Delicious Variations to Explore
If you’re looking to mix things up, there are plenty of exciting variations to try when making your Baked Chickpea Chips:
- Cheesy Chickpea Chips: Add nutritional yeast or your favorite cheese powder to the batter for a cheesy flavor.
- Spicy Version: Incorporate cayenne pepper or chili powder into the batter for a flavorful kick.
- Sweet Chips: For a sweet treat, consider adding a bit of cinnamon and a touch of sweetener to your batter.
- Herb Medley: Combine different fresh or dried herbs like rosemary, thyme, or garlic powder for complex flavors in each chip.
Common Questions About Baked Chickpea Chips
1. Can I use other types of flour?
Yes, while chickpea flour is the main ingredient for this recipe, you can experiment with other gluten-free flours like almond flour or rice flour. Just be aware that the texture and flavor may change slightly.
2. How do I know when the chips are done?
The chips should be golden brown with lightly crisped edges. Keep a close eye on them as they bake to avoid burning.
3. Can I freeze Baked Chickpea Chips?
While it’s not recommended as they are best enjoyed fresh, you can freeze them in an airtight container. Just remember to reheat them in the oven when you’re ready to enjoy them again.
4. What dips go well with chickpea chips?
Crispy chickpea chips pair well with a variety of dips, including hummus, guacamole, salsa, spinach dip, and tzatziki sauce.
5. Can I make these chips in an air fryer?
Absolutely! If you prefer using an air fryer, spread the batter in a thin layer in the basket and cook at around 180C (350F) until they are cooked through and crispy, checking frequently.