
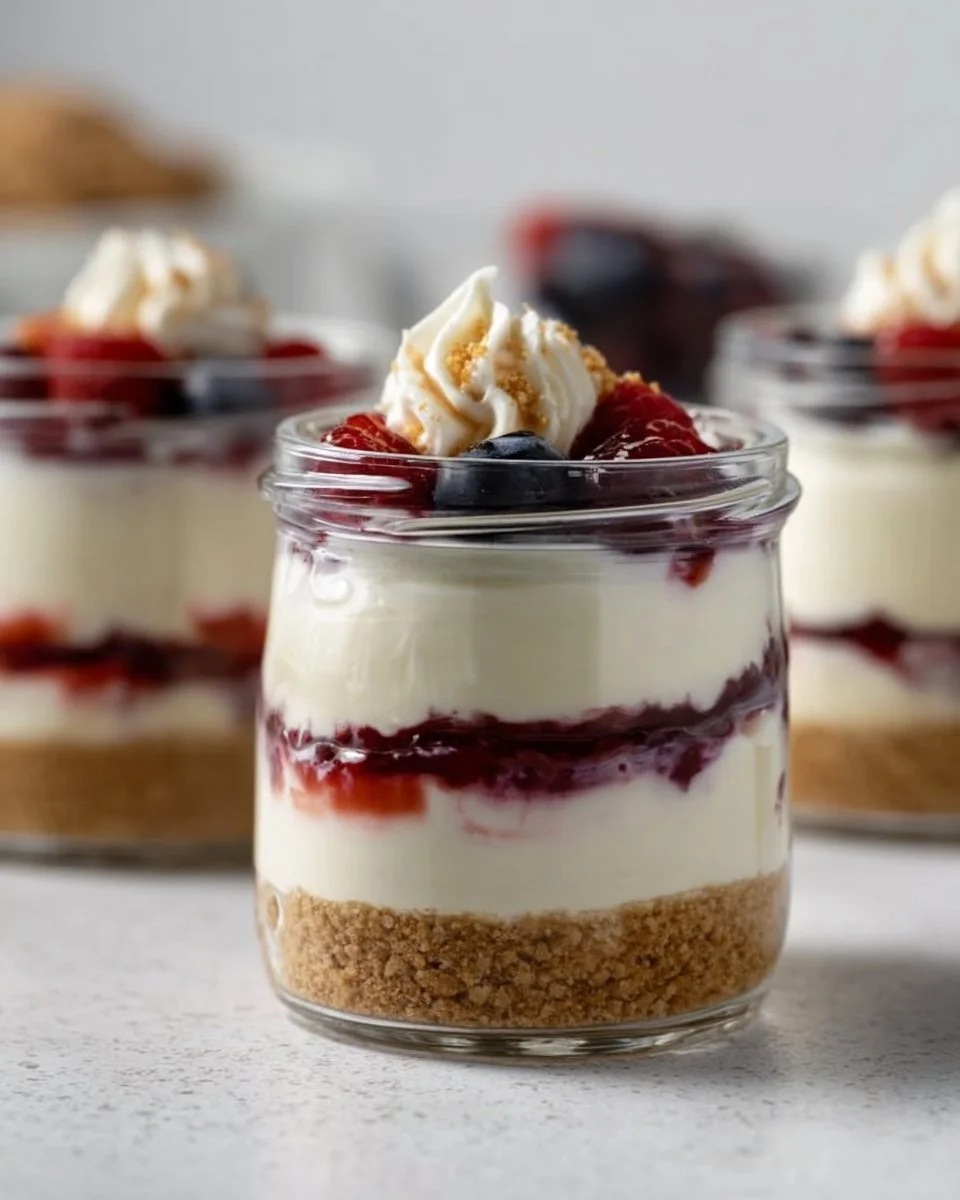
There’s something irresistibly charming about individual dessert jars, and when they’re filled with a creamy, dreamy cheesecake, that charm is elevated to new heights! The Healthy Protein Cheesecake Jars are your go-to dessert when you crave something sweet yet guilt-free. Not only are they packed with protein, making them a fantastic post-workout treat or a delicious snack, but they also please the palate without loading you up with unnecessary sugars and calories.
What makes this recipe so enticing is its simplicity and versatility. You can prepare these cheesecake jars in a short amount of time, and the satisfaction of creating a restaurant-style dessert at home is truly rewarding. Plus, they’re perfect for meal prep or serving at a gathering, allowing your guests to indulge in a treat that’s as wholesome as it is delightful. Let’s dive into why you should make these jars a staple in your dessert repertoire!
What Makes This Recipe So Good
This recipe stands out for several reasons. First, it’s incredibly simple to prepare, making it an excellent choice for both novice and experienced cooks. With just a handful of ingredients and minimal prep time, you can whip up a dessert that’s indulgent without compromising your healthy eating goals. The use of cottage cheese and fat-free cream cheese keeps the cheesecake rich and creamy while reducing calories and fat.
Additionally, the protein powder not only boosts the nutritional value but also helps achieve that satisfying texture that traditional cheesecakes often have. The result is a delicious layered treat that doesn’t leave you feeling guilty afterwards. The flexibility of toppings—be it fresh fruit, a scoop of jam, or a dollop of sugar-free whipped cream—means you can customize each jar to suit your taste or the occasion. In a world where healthy desserts are often hard to come by, this recipe fills the gap beautifully.
An Easy Overview of Making Cheesecake Jars
The preparation process for these delightful cheesecake jars is straightforward and beginner-friendly. You start by blending the cheesecake filling, which involves mixing cottage cheese, fat-free cream cheese, vanilla protein powder, and sugar-free maple syrup for sweetness. Once your filling is silky smooth, you’ll move on to creating a graham cracker crust, which adds a delightful crunch to each bite.
Assembling the jars comes next. It’s as easy as layering the crust at the bottom and spooning the cheesecake filling on top. After a quick chill in the fridge, these jars are ready to be adorned with your favorite toppings. The entire process can be done in about 20 minutes, and the sweet reward awaits you just a couple of hours later! Let’s take a look at the ingredients you’ll need.
Ingredients
Prep Time: 20 minutes
Chill Time: 1 to 2 hours
Total Time: 1 hour 20 minutes to 2 hours 20 minutes
Servings: 4
- 1 1/4 cups cottage cheese
- 1 cup fat-free cream cheese
- 1/2 cup vanilla protein powder
- Sugar-free maple syrup to taste
- 6 graham crackers or crumbs
- 1 tbsp melted butter
- Toppings (fresh fruit, jam)
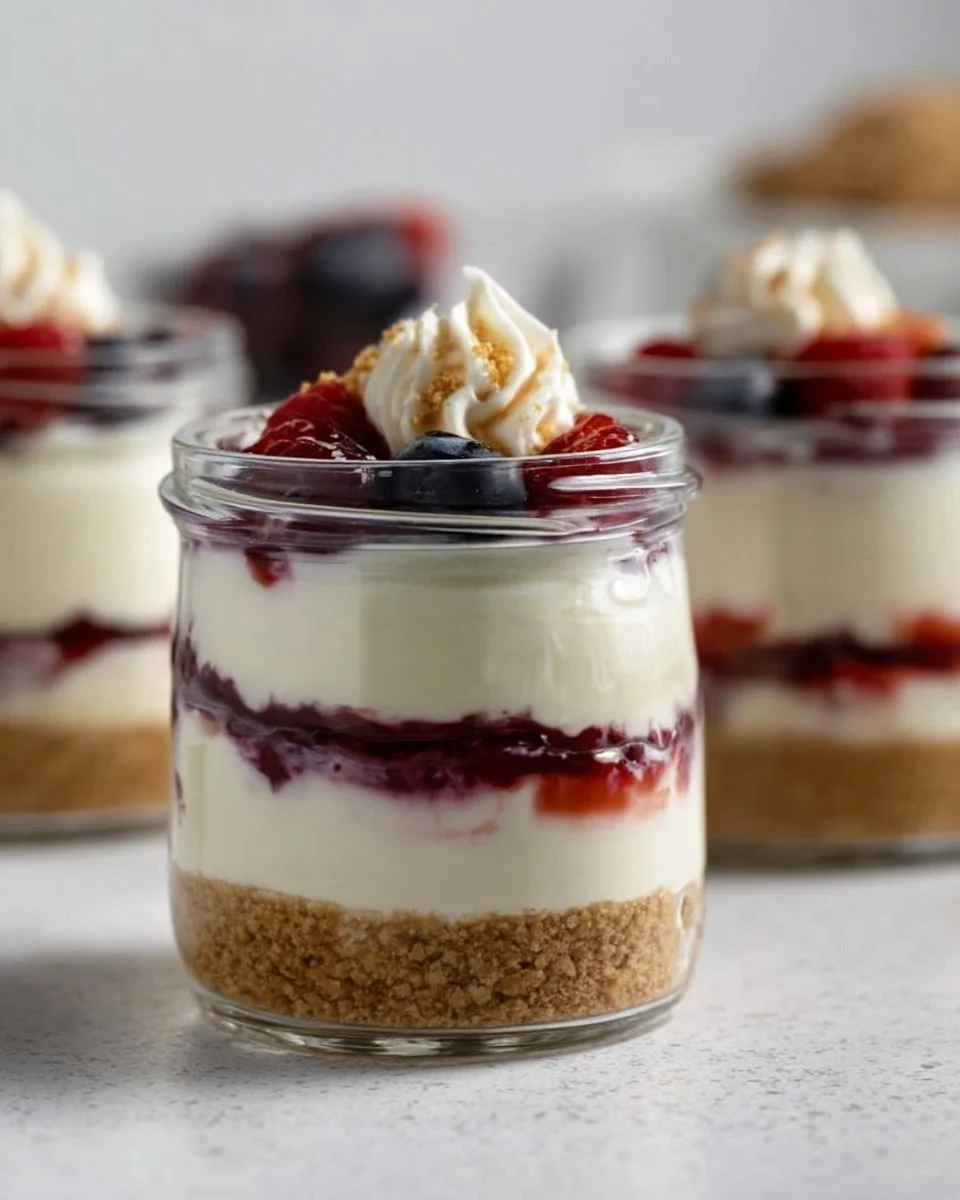
The key ingredients in this recipe bring both flavor and nutrition to the forefront. Cottage cheese provides a unique creaminess while packing in high protein and low fat. Meanwhile, fat-free cream cheese gives that authentic cheesecake taste without the extra calories. Vanilla protein powder enhances the flavor and helps the filling maintain its texture, while sugar-free syrup allows you to sweeten it just the way you like it!
Step-by-Step Instructions
Ready to create your stunning cheesecake jars? Follow these simple steps to indulge in your delicious creation!
- Prepare the Cheesecake Filling: In a blender, combine the cottage cheese, fat-free cream cheese, protein powder, sugar-free maple syrup, and a splash of vanilla extract. Blend until all ingredients are smooth and creamy. This step is crucial for achieving that delightful cheesecake texture, so blend thoroughly!
- Create the Crust: Crush the graham crackers into fine crumbs using a food processor or by placing them in a zip-top bag and crushing them with a rolling pin. Mix the crumbs with melted butter until evenly coated. This mixture acts as the foundation for your jars.
- Assemble the Jars: Take small individual jars and press the crust mixture into the bottom of each one to form a solid base. Then, spoon the cheesecake filling over the crust until each jar is nearly full. Leave a little space at the top for toppings if you plan to add them later.
- Chill: Cover the jars with lids or plastic wrap and refrigerate for 1 to 2 hours. Chilling allows the flavors to meld beautifully and the filling to set.
- Top and Serve: After chilling, it’s time to make your cheesecake jars even more enticing. Add your favorite toppings, such as fresh fruits like berries or a delightful dollop of sugar-free jam, before serving. This is where you can let your creativity shine!
Creative Ways to Serve Cheesecake Jars
These cheesecake jars are incredibly versatile and make for a fantastic dessert at any occasion. Serve them at birthday parties, potlucks, or family gatherings, and watch as they quickly become a favorite among your guests! Pairing these jars with a cup of herbal tea or a fizzy drink enhances the experience. If you’re looking to elevate your hosting game, consider setting up a topping bar where guests can customize their jars with a variety of fruits, nuts, or whipped toppings.
How to Store and Reheat Cheesecake Jars
Storing your cheesecake jars is simple! Keep them covered in the refrigerator for up to 3 days. This makes them great for meal prep, as you can have a healthy dessert ready to go at a moment’s notice. If you want to freeze them for longer storage, make sure to use airtight containers. They can last in the freezer for up to a month, but remember that the texture might change slightly after thawing.
When you’re ready to enjoy a frozen jar, transfer it to the refrigerator the night before to thaw slowly. Avoid reheating these jars in the microwave, as it can alter the creamy texture of the cheesecake. Instead, allow them to come to room temperature before adding fresh toppings!
Expert Tips for Making the Best Cheesecake Jars
To ensure your cheesecake jars turn out perfectly, here are some pro tips to keep in mind:
- Make sure all ingredients are at room temperature before blending. This allows for a smoother consistency.
- Don’t over-blend the cheesecake filling; stop when it’s just smooth enough to avoid incorporating too much air.
- Taste the filling before pouring it into the jars. Adjust sweetness to your liking.
- Experiment with the crust; consider adding nuts or oats to the graham cracker mixture for added texture.
- Keep it chilled! Make sure to refrigerate long enough so that the filling sets well.
Delicious Variations to Try
While the original recipe is stellar, there’s always room for creativity! Here are a few suggestions to mix things up:
- Flavors: Experiment with different protein powder flavors, such as chocolate or peanut butter, to change the cheesecake profile.
- Health Boost: For added nutrition, mix in some chia seeds or flaxseeds into the filling.
- Crust Alternatives: Swap graham crackers for crushed Oreo cookies or a nut-based crust for gluten-free options.
- Seasonal Toppings: Use pumpkin puree and spices in the fall or crushed candy canes in the winter to celebrate the seasons.
Frequently Asked Questions
Can I use regular cream cheese instead of fat-free?
Absolutely! You can substitute regular cream cheese, but keep in mind that it will increase the calories and fat content.
How long do these jars stay fresh in the fridge?
When stored properly, these cheesecake jars stay fresh in the fridge for up to three days.
Can I make these cheesecake jars vegan?
You can certainly create a vegan version by substituting vegan cream cheese and choosing a plant-based protein powder.
How can I make these jars sweeter?
You can adjust the sweetness by adding more sugar-free maple syrup or using a sweetener of your choice.
Is this recipe suitable for children?
Yes! These jars are a great healthier alternative to traditional desserts, making them a fun treat for kids who enjoy sweet snacks.